What's on Now
Introduction
On this page you can see what I'm doing at this moment. When an item is finished it will move to it's own page. Every time I buy something new or make progress I will show it here.
The wheels...
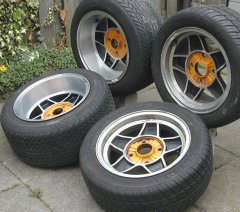 There are parts that have to be just right. On the picture you can see a set of classic wheels. The front wheels are 15 x 7J, rear wheels are 15 x 9J. The wheels are original ATS wheels.
The front wheels have a little bit of damage from the salt (winter) and the plan is to polish the aluminum parts. After that the black and yellow parts will be painted black. But these wheels caused me more work. At the front the total width of the wheels is 1580 mm and the total width of the fenders is only 1530. So the wheels are 25 mm to wide. At the rear the total wheel width is 1720 mm and the fenders are 1660 in width. So the wheels are 30 mm to wide.
The seats...
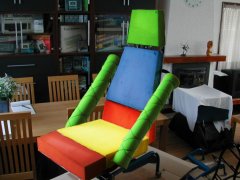
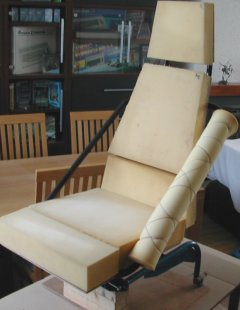 This is when I am fitting the foam. Under each piece of foam there is a multiplex sheet of wood. Each piece of foam will have a different color fabric. (Green, Yellow, Red of Blue.)
The side supports will also be covered with foam and fabric like a deluxe roll bar.
The headrest can be adjusted in height. I had to do this because in the original setting the seat could not pivot to the front without hitting the roof.
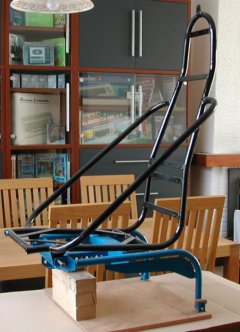
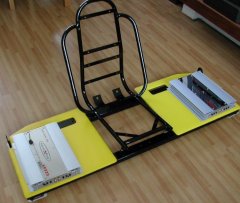
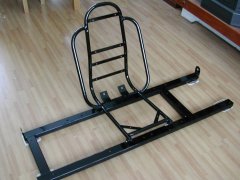 The subframe and the frame for the rear seat are ready. The sub frame is mounted on the mounting point where the normally the metal strip under the rear seat is mounted. The other mounting points are the safety belts mounting points. The frame of the rear seat is made of central heating pipe (22mm) and steel strips 4 x 20 mm.
The Twingo Look...
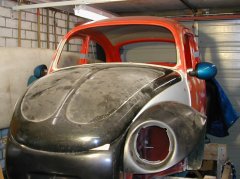 I always thought the original mirrors on the Beetle were ugly. The Cal-look mirrors are nice but not on a Baja. The Baby-turbos are alright but I don't like the way they are mounted. The best looking mirrors are the one that are on the proto-type of the New Beetle (The circular mirrors). But sadly on the real New Beetle the put Golf look-a-like mirrors.
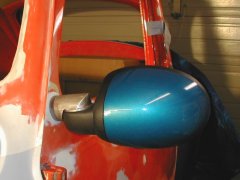
After searching for a long time I found an alternative. A nice rounded shape and a little bit bigger than the standard mirror. And a bonus these are power mirrors.
The mirrors came from a 2004 Renault Twingo.
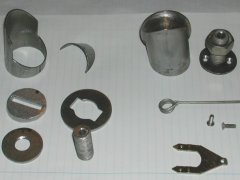 On the picture you can see all the bits on the left and the finished product on the right. The fork is used to secure the mirror on the adapter. It slides into the adapter and with the rod you can pull it out.
I'm going to make a little pin to prevent the mirror turning. The new mirror are mounted on the original position.
Update: 2011-07-07 20:57:53

